 Flashiibo
1: First-Time Navigation and Controls
Flashiibo Pro / Visual Tutorials / Navigation & Controls
This guide introduces the physical buttons, screen layout, and basic navigation of your Flashiibo Pro.
Control Cheat Sheet
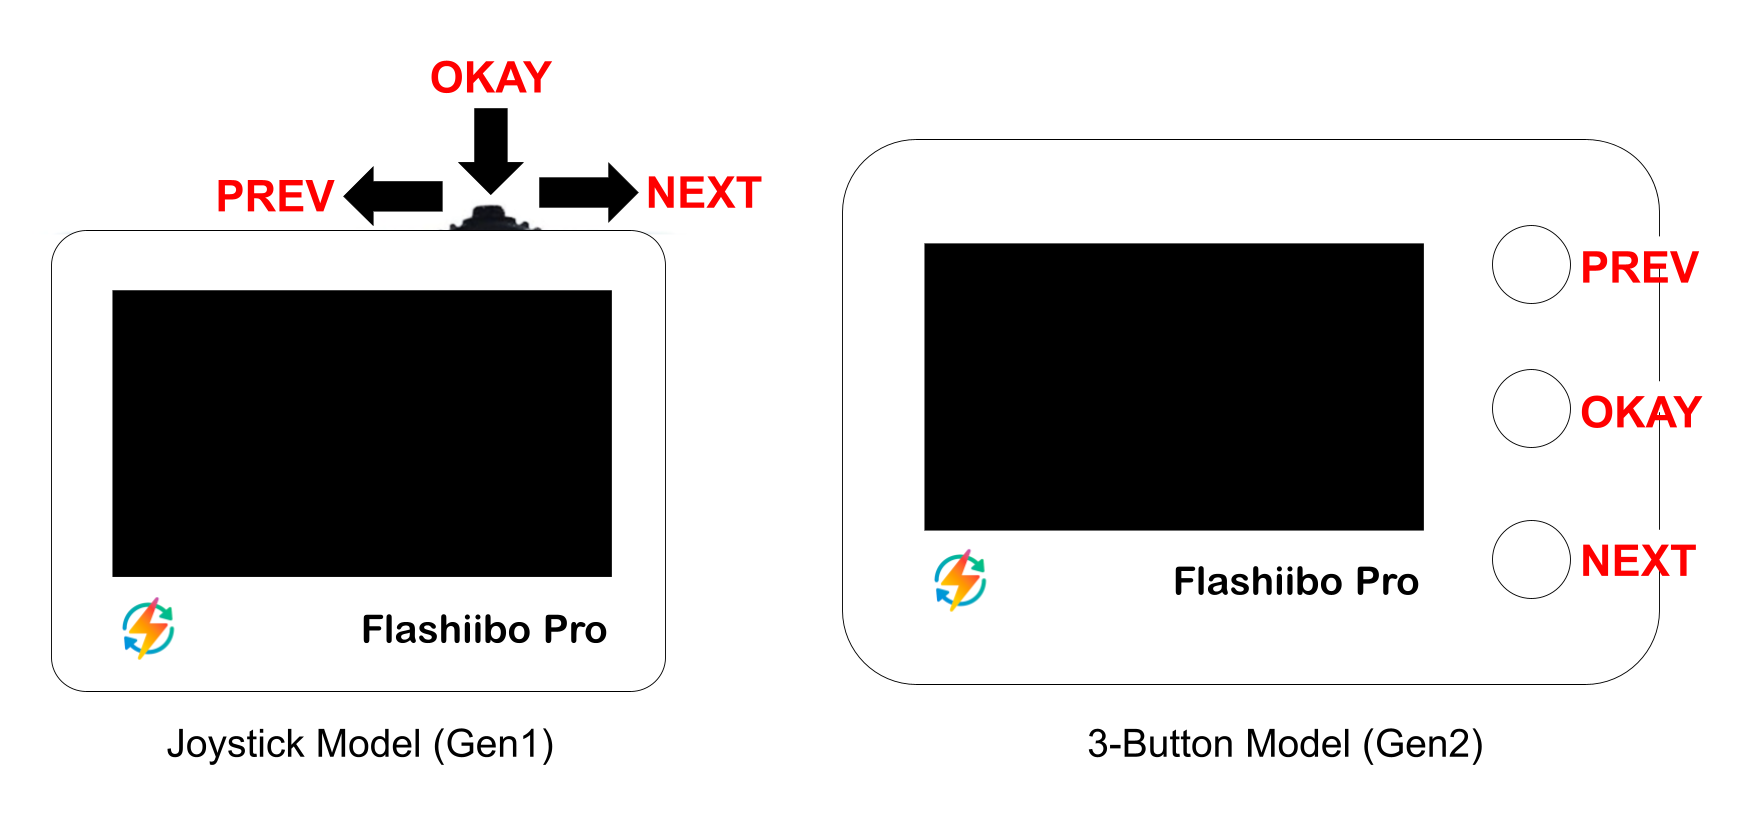
Step 1: The Home Screen Overview
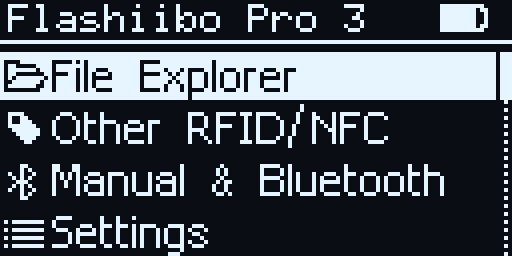
When powered on, Flashiibo boots directly to the main Home screen:
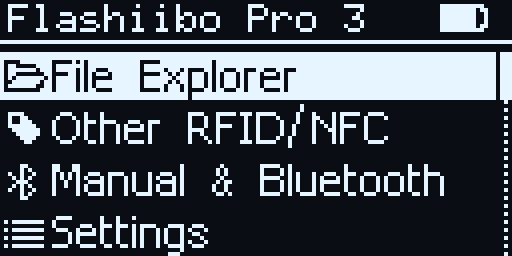
- Status Bar (Top): Displays the device name and battery level.
- Application List: Displays installed apps such as:
- File Explorer: Browse folders and select amiibos to scan.
- Other RFID/NFC: Multi-tag NFC & RFID card emulation.
- Manual & Bluetooth: Wireless file transfers and companion app connection.
- Settings: Brightness, sleep timer, and home screen customization.
Step 2: Scrolling and Highlighting Items
Press the UP or DOWN button to cycle through the menu items:
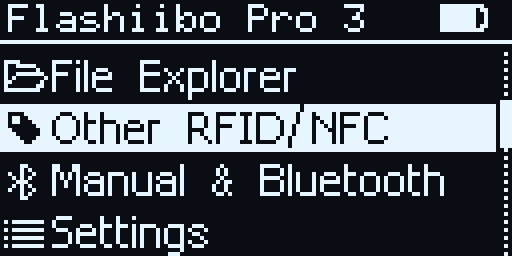
- As you scroll, the highlighted item updates immediately with an inverted selection box.
- Scrolling wraps around smoothly when reaching the bottom or top of the list.
Step 3: Opening Apps with the OK Button
Press the OK button to open the highlighted item:
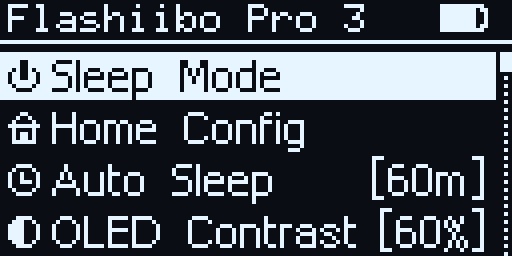
- The screen transitions immediately into the selected menu.
- Within any menu (such as Settings shown above), use the UP and DOWN buttons to browse options, and press OK to toggle choices.
Step 4: Quick Return Home
No matter how deep you are inside folders or menus, long press BACK to instantly return to the main screen:
- Your currently loaded amiibo remains selected and ready to scan in the background.
- You can freely jump between settings and file explorer without losing your place.
[!TIP] Power Saving: The screen automatically turns off after a short period of inactivity to save battery. Simply press any button to wake it right back up.
| ← Visual Tutorials Hub | Next: 2 - Browsing & Emulating Amiibo → |