 Flashiibo
2: Browsing Folders and Emulating Amiibo
Flashiibo Pro / Visual Tutorials / Browsing & Emulation
This guide shows you how to browse your amiibo library by game series, select a character to scan on your Nintendo Switch, and quick-swap between characters on the fly.
Step 1: Open File Explorer
From the main screen, highlight File Explorer and press the OK button:
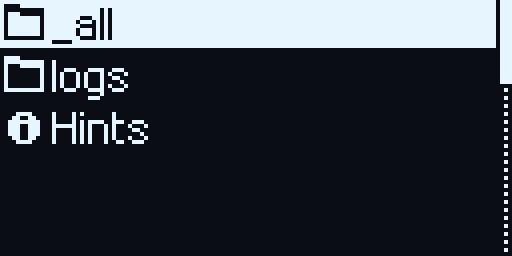
- You will see the main folders:
_all(your full collection),favorites(bookmarked characters), or any custom folders you created. - Press OK on
_allto enter your full amiibo library.
Step 2: Choose a Game Category
The amiibo collection is organized into numbered franchise folders for easy browsing:
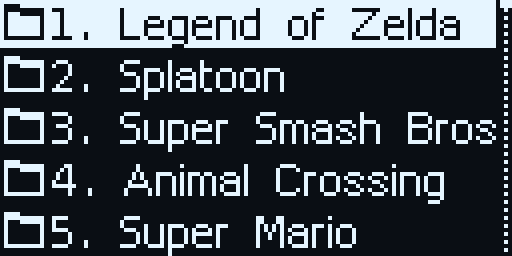
- Use the UP and DOWN buttons to highlight your desired series (e.g.
1. Legend of Zelda). - Press the OK button to open the folder.
Step 3: Select an Amiibo Character
Inside the game folder, characters are listed alphabetically:
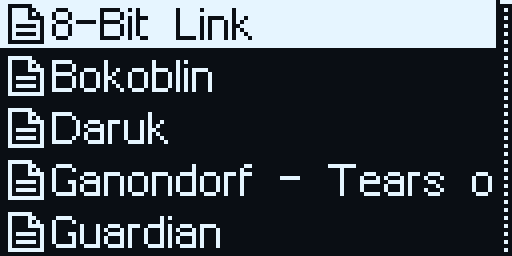
- Use the UP and DOWN buttons to highlight the amiibo you wish to use (e.g.
8-Bit Link). - Press the OK button to load the amiibo and make it ready to scan.
Step 4: Ready to Scan Screen
Once selected, Flashiibo displays the character detail screen:
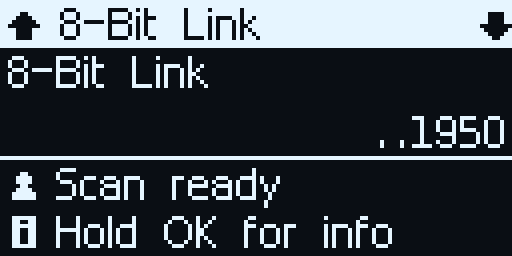
- Character Name: Displays the active amiibo (e.g.
8-Bit Link). - Tag UID: Displays the unique serial number of this amiibo.
- Ready to Scan: Flashiibo is now actively broadcasting the amiibo tag wirelessly.
- Scanning to Console: Place the back of your Flashiibo against the Right Joy-Con stick or the center logo of the Nintendo Pro Controller. The game will recognize your scan instantly!
Step 5: Quick-Swapping Characters During Gameplay
When collecting rewards in games like The Legend of Zelda: Tears of the Kingdom or Super Smash Bros, you don’t need to exit back to menus to switch characters:
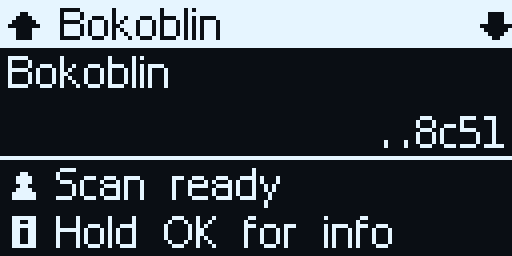
- Simply press the UP or DOWN button while on this screen.
- Flashiibo immediately switches to the previous or next amiibo in the folder (e.g., swapping instantly from
8-Bit LinktoBokoblin). - Scan, press DOWN, scan again—you can scan through dozens of characters in seconds!
Step 6: View Character Details
To view official identification codes for the character:
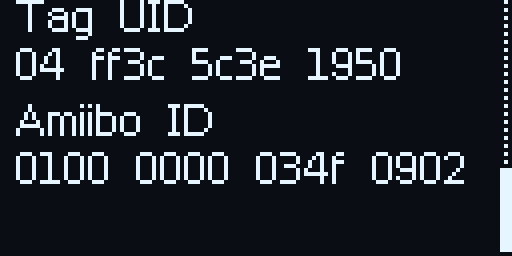
- Long-press the OK button on the character screen to open the options menu.
- Select Show More Info and press OK.
- View the full serial number and official Nintendo amiibo ID codes.
- Press BACK (or press OK on [Back]) to return to scanning.
Scanning Tips
[!TIP] Antenna Placement:
On Nintendo Switch Joy-Cons, the NFC scanner is located right under the right analog stick. On the Nintendo Switch Pro Controller, it is beneath the Nintendo logo at the top center. For best results, hold the back of Flashiibo gently against the controller reader for about 1 second.
| ← Previous: 1 - Navigation & Controls | Visual Tutorials Hub | Next: 3 - Daily Scan Restrictions → |