 Flashiibo
5: Adding Amiibo to Favorites for Quick Access
Flashiibo Pro / Visual Tutorials / Favorites
With hundreds of amiibo across dozens of game folders, navigating to your most frequently used characters can take extra time.
Flashiibo features a built-in Favorites system that lets you bookmark your favorite characters into a top-level /favorites folder for instant one-click access.
Step 1: Highlight an Amiibo in File Explorer
Navigate into any game folder in File Explorer and move the cursor over the amiibo you want to bookmark:
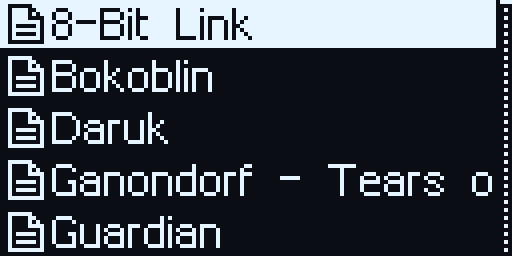
- In this example, we highlight
8-Bit Linkunder1. Legend of Zelda. - Do not press OK yet (a short press selects it to scan); instead, proceed to Step 2.
Step 2: Open the File Options Menu
Long-press the OK button for about 1 second until the options menu appears:
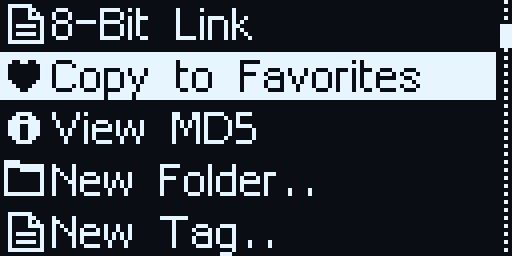
- The options menu displays actions for this file:
- Copy to Favorites
- Delete File
- Cancel
- Use UP / DOWN to highlight Copy to Favorites.
- Press the OK button to confirm.
The system bookmarks the amiibo into your dedicated /favorites folder.
Step 3: Locate the Pinned Favorites Folder
Long press BACK or navigate up to the File Explorer root directory:

- A folder labeled
favorites(with a heart icon) is pinned directly at the top of the root directory. - Highlight
favoritesusing UP / DOWN and press OK to enter.
Step 4: Browse Your Bookmarked Collection
Inside /favorites, all your pinned characters appear together in a single convenient list:
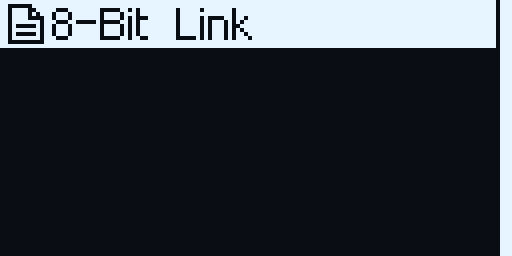
- All saved favorites appear here, no matter which game series they originally came from.
- Simply press OK to load the character and scan immediately!
- While scanning, pressing the UP or DOWN button will quickly cycle between only your favorited characters.
Managing Favorites
[!TIP] Removing a Favorite:
To remove a character from your favorites list, enter/favorites, highlight the amiibo, long-press OK to open options, and select Delete File. Deleting a file from/favoriteswill never delete the original file inside/_all.
| ← Previous: 4 - Uploading & Importing FCA Files | Visual Tutorials Hub | Next: 6 - Customizing the Home Screen → |